
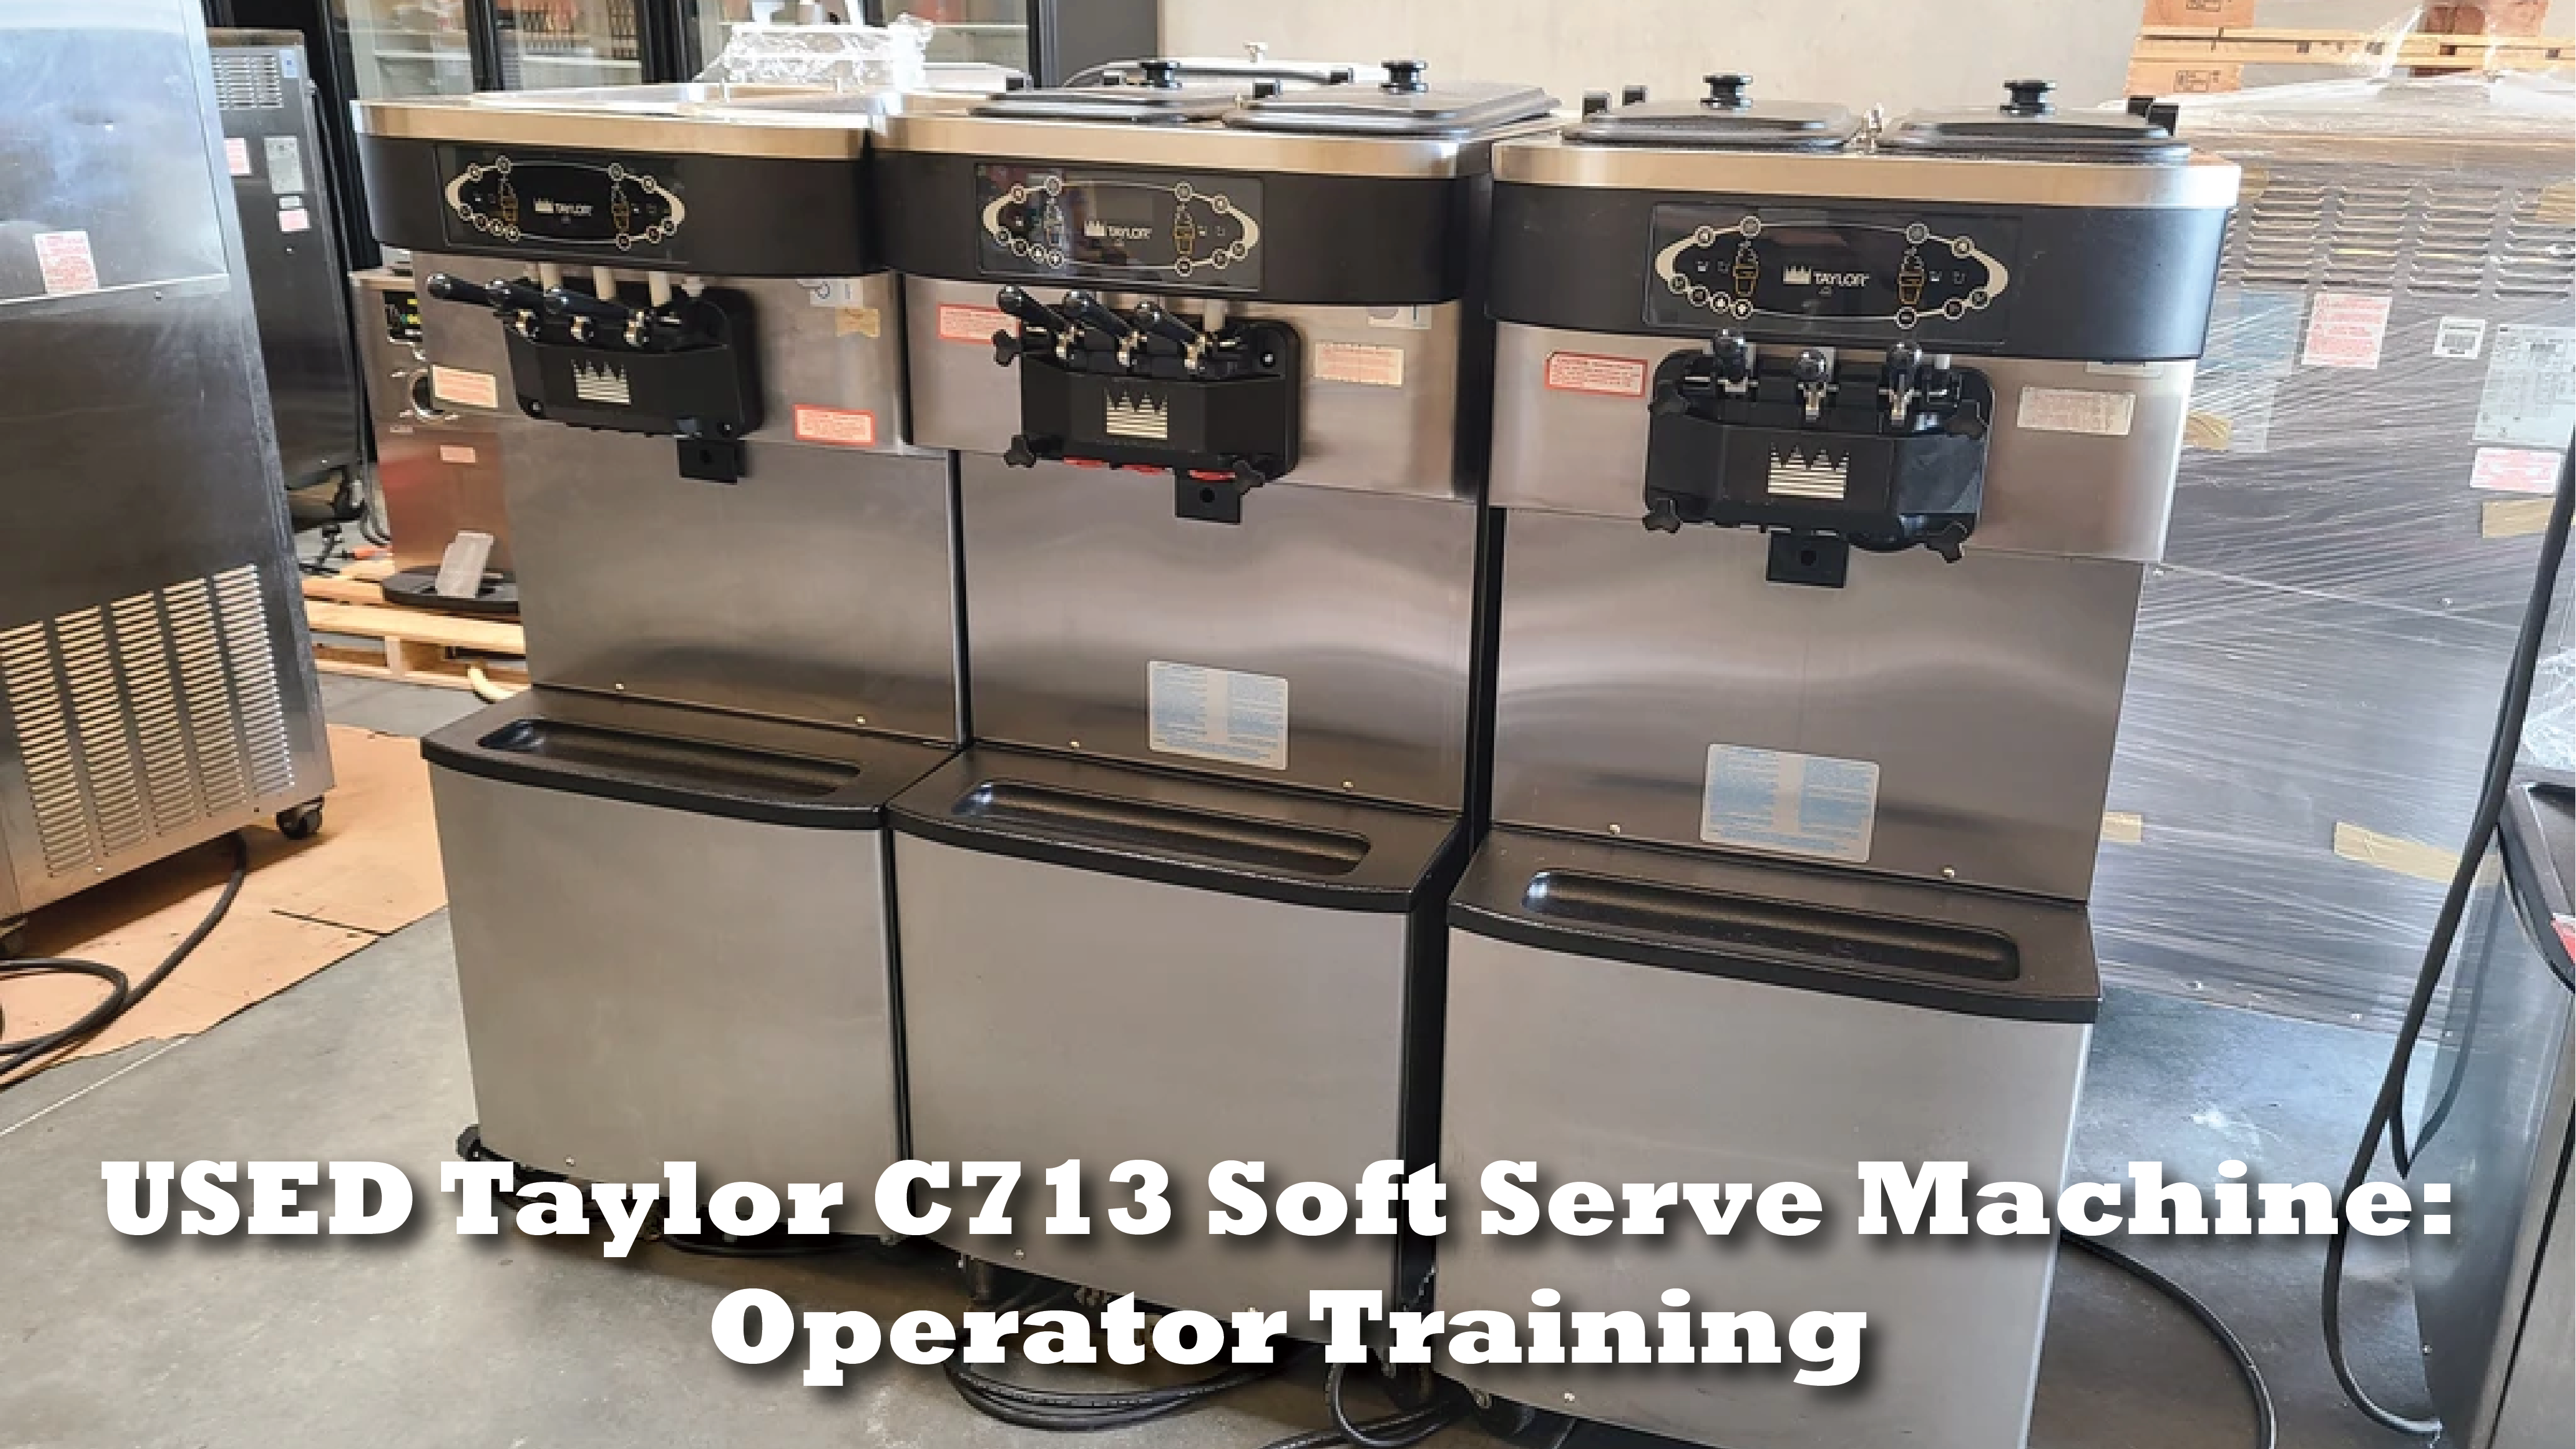
The Taylor models C712 and C713 soft-serve machines have been engineered and manufactured for dependable operation. This unit, when properly operated and cared for, will consistently produce a quality product. like all machines, however, it requires cleaning and maintenance. read the operator's manual before operating or performing any maintenance. The initial assembly and priming procedures are of extreme importance: If you need those directions, then definitely continue reading!
Resources:
| Taylor C712 Soft Serve Freezer: | C712 Spec Sheet | C712 Operators Manual |
| Taylor C713 Soft Serve Freezer: | C713 Spec Sheet | C713 Operators Manual |
C712/713 Taylor Ice Cream Freezer: The Basics
When the power switch is placed in the on position, the control panel keys become operative. a fluorescent display will be either blank or indicate that the unit has been cleaned. The brush clean counter will display the number of hours since the freezer was last fresh clean. in the menu, program the arrow symbols and the select symbol-function as menu keys. The up arrow increases the value above the cursor and Scrolls upward in text displays. the down arrow decreases the value above the cursor and Scrolls downward in text displays. select advances the cursor position to the right, and is used to select menu options.
With the access code screen on the display use the select button to set the first code number. in the cursor position press the select button to move the cursor to the next number position. continue to enter the proper access code numbers.
NOTE: the default access code for the Taylor C712/713 is: 8-3-0-9. You or a previous owner may have changed the access code.
When you have finished entering the access code, press the select button.if the correct access code was entered, the menu list will display on the screen. touch the arrow symbols to move up or down through the menu. select a menu option by pressing the select button. exit the menu program by selecting exit from the menu, or touch the cone symbol. selecting exit from the menu will exit the menu and return the control panel symbols to normal operation.
Assembling Your Taylor C712/713 Soft Serve Ice Cream Machine:

Insert the beater drive shaft through the rear shell bearing in the freezing cylinder and engage the Hex end firmly into the drive coupling. Before installing the beater assembly, check the scraper blades for any nics or signs of wear. If the blades are in good condition, install the scraper blade clips over the scraper blades. place the rear sprayer blade over the rear holding pin on the beater. holding the rear blade on the beater, slide it into the freezing settler halfway. install the front scraper blade over the front holding pin. install the beater shoes. slide the beater assembly the rest of the way into the freezing cylinder. make sure the beater assembly is in position over the driveshaft by turning the beater slightly until the beater is properly seated. when in position the beater will not protrude beyond the front of the freezing cylinder. repeat these steps for the other side.

To assemble the freezer door place the door gaskets into the grooves on the back of the door. slide the front bearings over the baffle rods. the flanged edges should be against the door. do not lubricate the gaskets or front bearings. slide the o-rings into the grooves on each prime plug and apply an even coat of lubricant to the o-rings and shafts. insert the prime plugs into the holes in the top of the freezer door and push down. to install the freezer door, insert the baffle rods through the beaters into freezing cylinders. with the door seated on the freezer studs, install the hand screws using the long screws on the top, and the short screws on the bottom. tighten them equally in a crisscross pattern to ensure the door is snug. slide the three o-rings into the grooves of each standard draw valve. slide the H-ring and the o-ring into the grooves of the center draw valve. lubricate the H ring and the o-rings. lubricate the top and bottom of the inside of the freezer door spouts.
Insert the draw valves from the bottom until the slot in each draw valve comes into view. position each draw handle with the adjustment screw facing down. slide the fork of each draw handle into the slot of each draw valve, starting from the right. slide the pivot pin through the draw handles as you insert them into the draw valves. to increase the flow rate, turn the adjustment screw clockwise. turn the adjustment screw counterclockwise to decrease the flow. snap the design gaps over the bottom of the door spouts. slide the two rear drip trays into the holes in the back panel. slide the two drip pans into the holes in the side panels. install the front drip tray and splash shield onto the door spouts. assemble the mix pub. begin by sliding the red o-ring into the groove of the piston. apply a thin layer of lubricant to the inside of the pump cylinder at the retaining pin hole end. insert the piston into the end of the pump cylinder. assemble the valve cap.

Begin by sliding the o-ring into the groove of the valve cap. slide the pump valve gasket into the holes on the cap. insert the valve body cap into the hole in the mix Inlet adapter. insert the mix Inlet assembly into the pump cylinder. The adapter must be positioned into the notch located at the end of the pump cylinder. secure the pump parts in position by sliding the retaining pin through the cross holes located at one end of the pump cylinder. the head of the retaining pin should be located at the top of the pump.
Assemble the Taylor C712/713 Feed Tube Assembly
Slide the check ring into the groove of the feed tube. install one red o-ring on each end of the mix feed tube. lubricate the o-rings thoroughly. lay the pump assembly, the pump clip, and the mix feed tube in the bottom of the mix hopper for sanitizing. slide the large black o-ring and the two smaller black o-rings into the grooves on the drive shaft.
Thoroughly lubricate the o-rings and shaft. do not lubricate the hex end of the shaft. install the hex end of the drive shaft into the drive hub at the rear wall of the mix hopper. repeat these steps for the other side of the machine. to sanitize, prepare two gallons of an approved sanitizing solution and warm water. pour the sanitizing solution over all the parts in the bottom of the mix hopper and allow it to flow into the freezing cylinder. make sure your hands are clean and then while the solution is flowing into the freezing cylinder, brush clean the mix level sensing probe, the mix hopper, the mix in that hole, the air mix pump, the pump clip, the mix feed tube, and the cotter pin.
Install the pump assembly at the rear of the mix hopper. to position the pump on the drive hub, align the drive hole in the piston with the drive crank of the drive shaft. secure the pump in place by slipping the pump clip over the collar of the pump, into the grooves in the collar. install the pump end of the mix feed tube and secure it with the cotter pin. prepare another two gallons of an approved sanitizing solution and warm water. pour the sanitizing solution into the mix hopper and brush the exposed sides of the hopper. place the power switch in the on position. touch the wash button on each side. This will cause the sanitizing solution in the freezing cylinder to be agitated. allow the solution to agitate for at least 5 minutes.
with an empty pail beneath the door spouts, raise the Prime plug, and press the pump button. When a steady stream of sanitizing solution flows from the prime plug opening in the bottom of the freezer door, open the draw valve. Once the sanitizer stops flowing from the door spout, press the wash and pump buttons. The draw valve will close automatically. repeat these steps for the other side of the machine. To begin priming the machine, place an empty mix pale beneath the door spouts with the prime plug in the up position. pour 2 and 1/2 gallons of fresh mix into the mix hopper and allow it to flow into the freezing cylinder. open the draw valve to remove all sanitizing solutions. when only fresh mix is flowing, close the draw valve. push the prime plug down. When the mix stops bubbling down into the freezing cylinder, remove the cotter pin from the outlet fitting of the mixed pump. insert the outlet end of the mix feed tube into the mix Inlet hole in the mix hopper. place the inlet end into the outlet fitting of the mixed pump. secure it with the cotter pin. press the auto button. fill the hopper with fresh mix and place the hopper cover in position. repeat these steps for the other side of the machine.
Priming the Taylor Ice Cream Machine C712/713 for Disassembly

To disassemble the model C712 or C713, you will need the following items: cleaning and sanitizing pails, sanitizer, the brushes provided with the freezer, and single service towels. with a pale beneath the door spouts open the draw valve and press the wash and pump buttons. drain the product from the freezing cylinder and the hopper. when the flow of the product stops, press the wash and pump buttons, canceling the wash and pump modes. close the draw valve. remove the cotter pin, mix feed tube, pump clip, and the assembled air mix pump. repeat these steps for the other side of the machine.
To rinse the machine, pour two gallons of cool clean water into the mix hopper. with the white hopper brush scrub the mix hopper and the mix level sensing probe. use the medium size white brush to clean the mix Inlet hole. with a pale beneath the door spouts raise the prime plug and press the wash button. When a steady stream of rinse water is flowing from the prime plug opening in the bottom of the freezer door, open the draw valve. drain all the rinse water from the door spout. close the draw valve and push the prime plug down. press the wash button, canceling the wash. mode repeat this procedure using clean warm water until the water being discharged runs clear. repeat these steps for the other side of the machine.
to clean the hopper, mix two gallons of warm water with an approved cleaning solution. with the prime plug pushed downpour the solution into the hopper. allow the solution to flow into the freezing cylinder. using the white hopper brush, clean the mix hopper and the mix level sensing probes. using the double-ended brush, clean the mix Inlet hole. press the wash button. This will cause the cleaning solution in the freezing cylinder to come in contact with all areas of the freezing cylinder. wait at least five minutes before proceeding with these instructions.
raise the prime plug. open the draw valve, draw all the solutions. Once the cleaning solution stops flowing from the door spout, close the draw valve and the prime plug. press the wash button canceling the wash mode. repeat these steps on the other side of the machine.
Disassembling the Taylor C712/713 Ice Cream Machine:

To disassemble the machine, first, make sure the power switch is off. remove the hand screws, freezer door, scraper blades, and the drive shaft, with drive shaft seal from the freezing cylinder. remove the driveshaft seal from each driveshaft. from each pump cylinder, remove the retaining pin, mix Inlet adapter, valve cap, pump gasket, and piston. remove the o-ring from the piston and valve cap. remove the freezer door gaskets, the front bearings, the pivot pin, the draw handles, the draw valves, the prime plugs, and the design caps. remove the o-rings from the draw valves. remove the pump drive shafts from the drive hubs in the rear wall of the mixed hoppers. remove the front drip tray and the splash shield. remove all the drip pans and take them to the sink for cleaning. thoroughly brush clean all disassembled parts in a cleaning solution making sure all the lubricant and mix film is removed.

Be sure to brush all surfaces and holes, especially the holes in the pump components and the draw valve holes in the freezer door. rinse all parts with clean warm water. place the parts on a clean dry surface to air dry overnight. return to the freezer with a small amount of cleaning solution and use the black brush to clean the rear shell bearing at the back of each freezing cylinder and the drive hub opening in the rear wall of each mix hopper.
wipe all exterior surfaces of the freezer with a clean sanitized towel. following the procedures presented in this video will result in many hours of trouble-free operation of your Taylor c712 and c713 soft-serve machine and will significantly contribute to a long and useful operational life
Are you looking for a USED Taylor Soft Serve Machines for a discounted price? - SHOP HERE!