
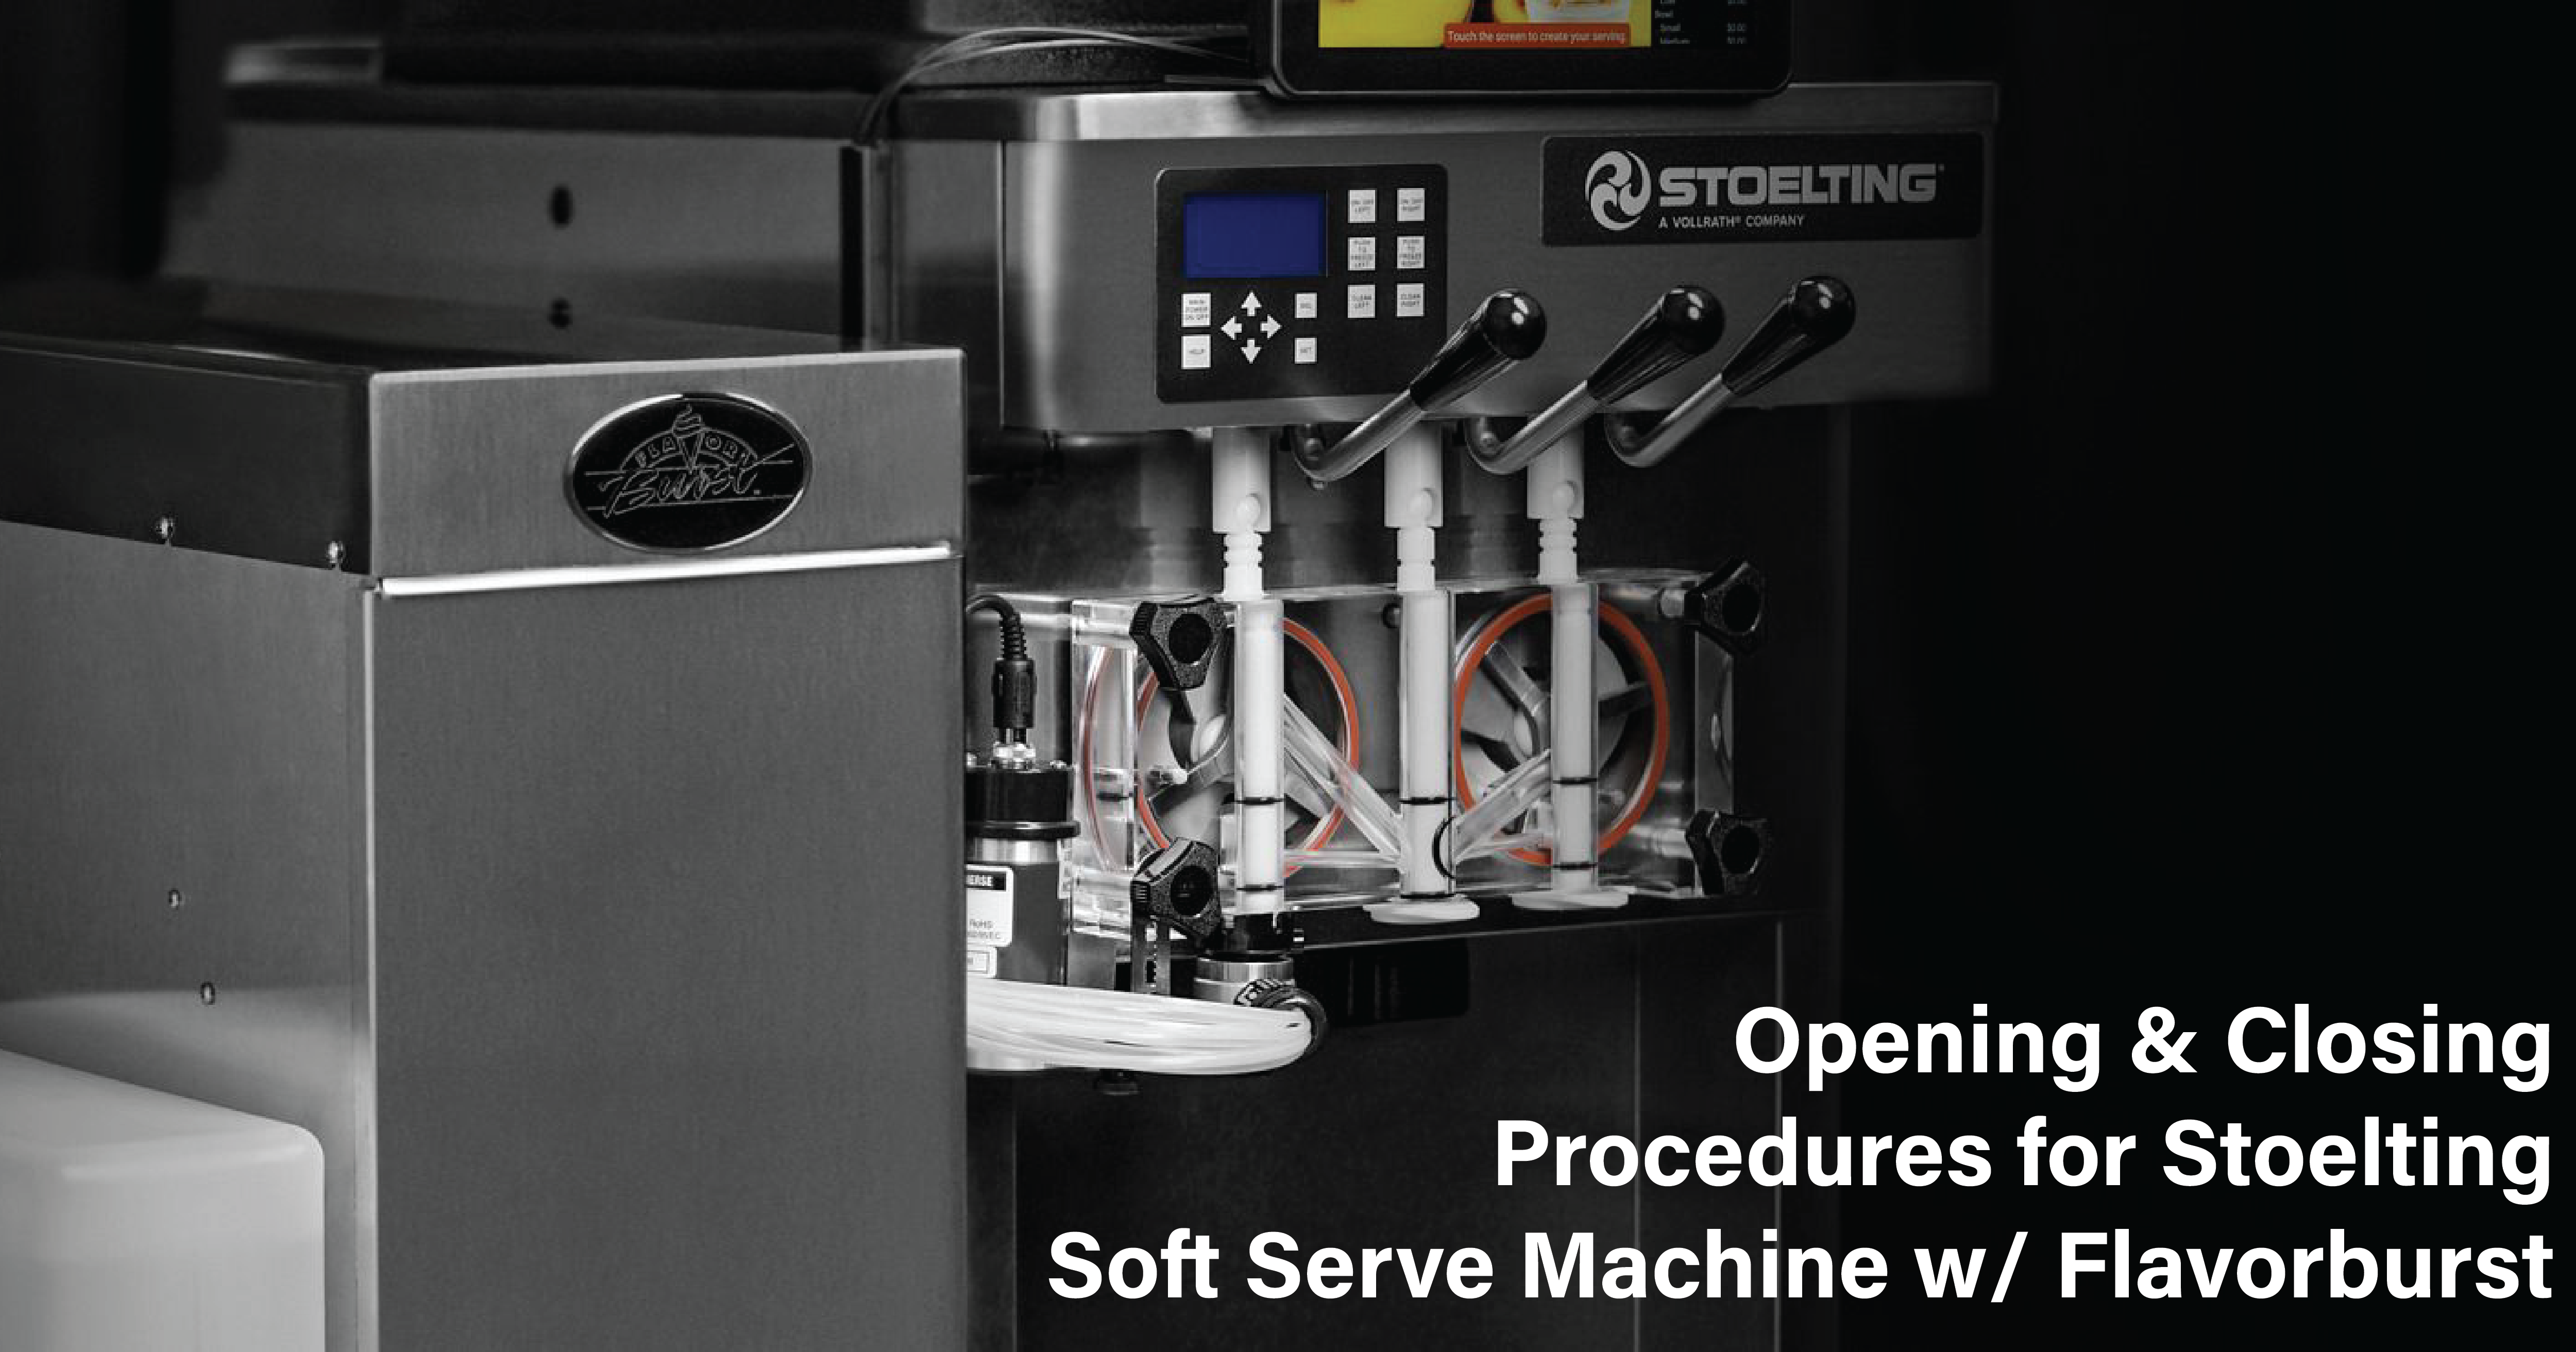
Today we are going over, step by step, the basics in opening and closing prodcedures for the Stoelting Soft Serve Machine with Flavorburst technology .
Opening Procedures for a Stoelting Soft Serve Machine with Flavorblast:
These instructions will help you perform the daily opening procedures for your flavor burst soft serve system. Before you begin, make sure you have the approved sanitizing product sterichin green label sanitizer, mixed with warm water to the manufacturer's instructions. You will also need approved serviceable and sanitized tools and brushes, and your hands should be clean and sanitized.
Examine all items for wear and replace them if necessary. Ensure that the blending system has been disassembled and cleaned according to the daily closing procedures [closing procedures below] - this is typically performed at the end of the previous business day.
Sanitizing the Blending System:
Prepare a small amount of sanitizer solution by mixing half a packet of sterichine green label with one gallon of warm water. Pour approximately 16 ounces of this sanitizer solution into a spray bottle. Submerge the gearbox, nut, spout, adapter, o-rings, gear cartridge, and blending head in the rest of the sanitizer solution and soak for 5 minutes. Remove each part from the sanitizer solution and place them on a sanitary tray to air dry.
Remove the manifold cap and set it on the sanitary tray. Spray the syrup line manifold opening with sanitizer solution, and allow it to sanitize for at least five minutes. Dry the end of the manifold with a clean single service towel.
Some parts do not need to be sanitized on a daily basis as part of the daily opening procedures, however, these parts should be inspected and cleaned if necessary by following the instructions in the scheduled maintenance section; these parts are the 9-tube assembly coupler, nine tube assembly tubes, touch panel and mounting bracket, drive motor, any exposed surfaces of the cabinet and blending assembly suspension bracket.
Assembling the Blending System:
Check the blending head o-rings, the gear cartridge, and the spout adapter o-rings for wear and replace them if needed. Because these items get worn out with time, it's important to always keep spares on hand. In the spare parts kit, place the gear cartridge in the gearbox so that the gear teeth line up with the gear inside the gearbox. Install the blending head onto the gearbox, and rotate off-center to secure. Insert the drive motor into the gearbox so that all four locking screws are seated properly. Rotate the motor clockwise to secure and install the o-rings in their proper positions on the adapter body.
Installing the Blending System:
Install the spout adapter assembly complete with o-rings onto the freezer spout. push up on the adapter with your palm until it snaps on. Ensure it is evenly and fully installed. Place the blending assembly onto the suspension bracket so that the gearbox post slides into the bracket opening. Install the blending head fully over the spout adapter, push up on the blending assembly and lift the locking collar up and over the adapter tabs. Rotate the locking collar over the tabs to secure.
Connect the drive motor cable to the motor. Ensure the blending assembly is resting level and horizontal. Install and tighten the gearbox nut to secure the assembly. insert the syrup line manifold end fully into the blending head syrup line opening. Rotate it until motion stops to secure.
Place a container under the dispensing spout and press the flush spout button on the touch panel to purge any remaining product from the spout. if the flush spout button is not shown on the screen, you can access the button under the flushing functions section of the maintenance menu. There are a few items you should check when performing opening procedures, but they do not need to be adjusted or maintained every day. First, check the sanitizer tank to ensure that it has plenty of approved sanitizer solutions that are no older than 28 days. refill it if necessary.
Ensure that desired flavors are installed and that none of the flavor bags are empty. if they need to be changed or replaced follow the instructions in the operator's manual. check that the flavor levels and multi-flavored timing settings are at the desired level, make adjustments according to instructions if desired. Your flavor burst soft serve system is now ready for use!
Closing Procedures for a Stoelting Soft Serve Machine with Flavorblast:
This section will help you perform the daily closing procedures for your flavor burst soft serve system. before you begin to make sure you have the approved sanitizing products sterichin green label mixed to the manufacturer's instructions, as well as dawn dish soap mixed with warm water. you will also need approved serviceable and sanitized tools and brushes and your hands should be clean and sanitized.
Examine all items for wear and replace them if necessary. Begin by placing a container under the dispensing spout and press the flush spout button on the touch panel to purge any remaining product from the spout. if the flush spout button is not shown on the screen, you can access the button under the flushing functions section of the maintenance menu. Rotate the nine-tube assembly coupler until it unlocks and is able to slide out of the blending head syrup line.
Disconnect the drive motor cable from the drive motor. remove the gearbox nut and rotate the blending head locking collar until it unlocks from the spout adapter. remove the blending head from the adapter. do not attempt to remove the spout adapter with the assembly attached, because using the assembly or gearbox as leverage may break the adapter or spout or damage the blending head.
Remove the spout adapter from the freezer spout. You may want to use a clean narrow tool such as a screwdriver to gently pry the adapter off. Place the tool on the adapter port and slowly angle down against the freezer door. rotate the drive motor to unlock and remove the motor from the gearbox. rotate the blending head to unlock it from the gearbox. remove the gear cartridge from the gearbox.
Prepare detergent water by mixing several drops of dawn dish soap with a gallon of warm water. Mix half a packet of sterasheen green label with one gallon of warm water to make a small amount of sanitizer solution. Pour approximately 16 ounces of this sanitizer solution into a spray bottle and set aside the rest for later. submerge the gearbox and nut in warm water and soak for at least five minutes. while the gearbox and nut are soaking, brush and clean all exposed surfaces of the gear cartridges with detergent water before rinsing thoroughly with warm water. brush and clean all exposed surfaces of the blending head with detergent water, then rinse with warm water. use a small brush to ensure the syrup openings are completely clear. once the gearbox and nut have soaked for five minutes, brush and clean all exposed surfaces and openings with detergent water then rinse with warm water. while doing this, make sure not to open or disassemble the gearbox or attempt to brush inside the gearbox as this may cause damage.
Remove the o-rings from the adapter body brush and clean the parts with detergent water. rinse with warm water and submerge the gearbox, nut, gear cartridge, blending head, spout adapter, and o-rings in the sanitizer solution and soak for at least five minutes. Remove each part from the sanitizer solution once five minutes have passed, and place it on a sanitary tray to dry.
Spray the syrup line manifold opening with the sanitizer solution. allow it to sanitize for at least five minutes. Dry the end of the manifold with a clean, single service towel. Install the cap on the manifold then you clean, rinse and dry the surfaces of the drive motor and exposed surfaces of the cabinet using detergent water, warm water, and single service towels.
Some parts do not need to be sanitized daily as part of the daily closing procedures, however, these parts should be inspected and cleaned if necessary by following the instructions in the scheduled maintenance section. You have now completed the daily closing procedures for your flavor burst soft serve system